The Moxie House of Verve & Whimsy
  • Welcome
    • Passing the Days
    • Rants
    • Raves
    • Faves
    • Craves
    • Amaze
    • Been & Seen
    • Dreams
    • & Other Things

Amaze

The Craft:  Down-to-earth projects, minus the Martha.

Home

What does the fox say?   cheap cheap cheap...

8/28/2014

1 Comment

 
Over the last few weeks, I've been turning our guest room into a new room for Maverick.   I figure I better do it NOW, rather than wait until next year when he's going to surpass me in height.    
Part of the challenge is to find something fun for the walls -- I just don't want to spend a bunch of money, especially since I know he's going to out-grow the décor over time.  And when the budget is low, it's a DIY or bust moment. 

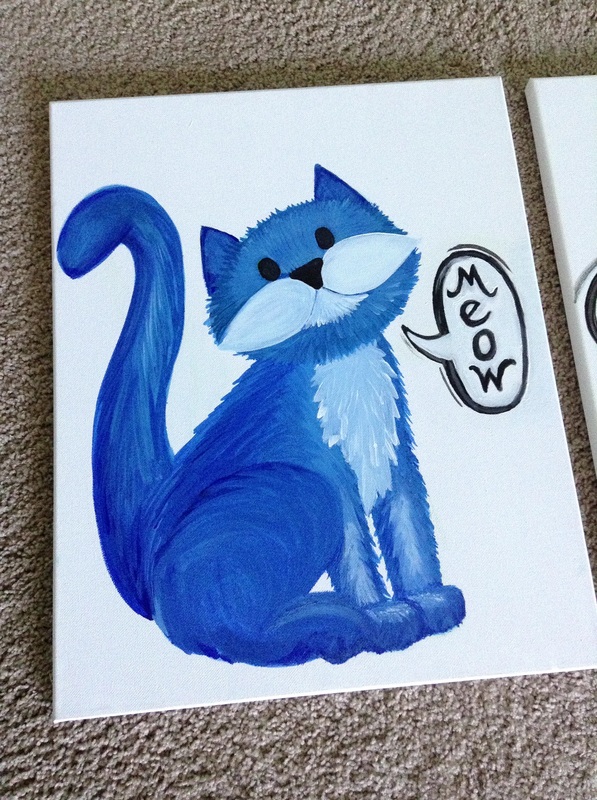
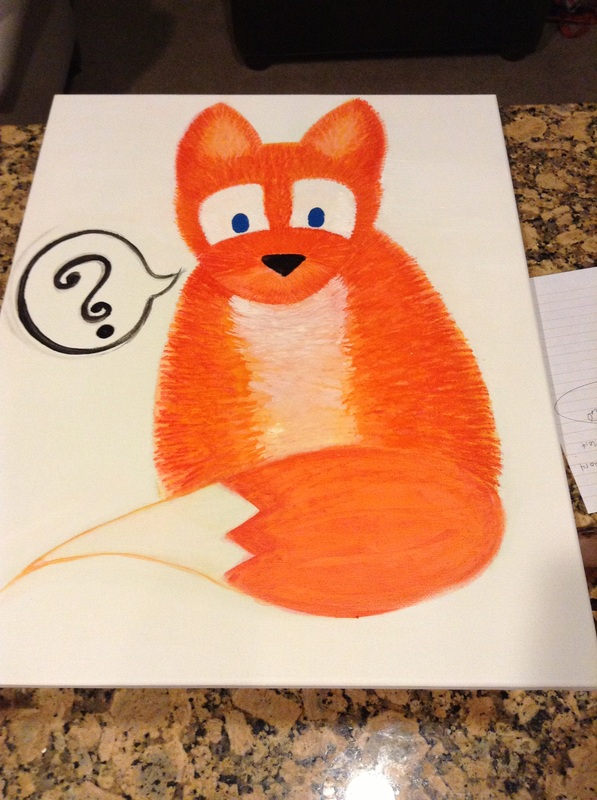
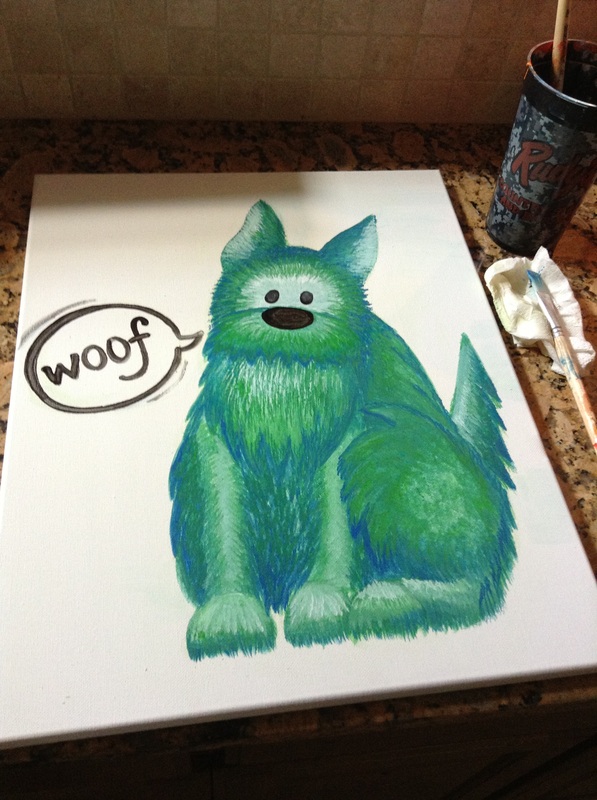
After watching Maverick get all wound up and crazy about a silly Ylvis song, "What Does the Fox Say?" I had a little inspiration on creating a quick and cute trilogy that I felt would suit his new room, which is orange, green, an.   I got out my trusty pack-o-canvases from Michaels (11 x 14 - 5 for $15!), my dollar-store paint brushes, and some 10-year-old acrylic paint and I go to town....  $9 later, I have something to fill the wall space:
Picture
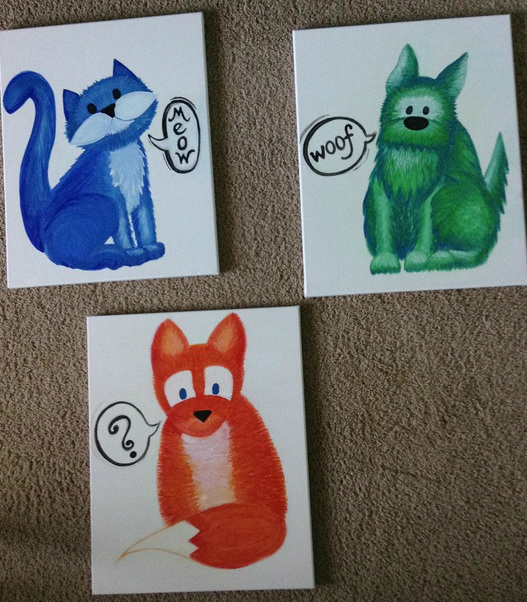
When it comes to kid's art, I try to keep it simple.  I also try not to get too attached to it, because I know he'll eventually outgrow it and move on - probably to posters of athletic heroes or cars or babes or something of the sorts....   That being the case, I don't put a ton of effort into these little things - the set took me just a few hours.  I also don't beat myself up if they don't look perfect.  I figure they're fun and colorful, and if it makes Maverick think of that crazy song, and puts that cute smile on his face, well... then, I'm a happy mom.   
1 Comment

The look for less

12/27/2013

0 Comments

 
Picture
You know that moment when you realize you might be spending wayyyy too much on something you could just do yourself?   I had that moment when I was admiring some burlap ribbon adorned with the repeated screen printed words "Happy Holidays" - it was wrapped casually around an expertly decorated tree in a magazine.  I thought to myself - "I would love that on my tree!  But I wish it said 'Merry Christmas' instead of 'Happy Holidays.'"    Then it occurred to me...  why would I pay for this?   I could very easily do this myself!   And so I did.  But my idea morphed from just saying "Merry Christmas" to being an entire Christmas carol!  And from there, I decided to do the entire stair case in it.

 All I needed was:
      -  Burlap ribbon  (I needed about 4 rolls - about 100 feet)  $20
      -  Sharpie Pens (fine point in black, silver, and gold)  $5
      -  The words to my favorite Christmas carol - 'Hark! The Herald Angels Sing!"   Googled for FREE!

After about 2 hours, my project was complete and I simply wrapped the existing pine garland on my staircase with my new, custom-made, budget-friendly-yet-magazine-worthy ribbon. 

Compared to the magazine's rolls of generic "Happy Holiday" wishes at $15 per 3 yard roll, my 100 feet of lyrical burlap was a total steal at only $25.

I'll definitely be doing more custom hand-written ribbon projects in the future!   

0 Comments

Crepe paper gift wrap

5/17/2013

0 Comments

 
Picture
Being the cheapo person that I am, I am always looking for inexpensive ways to make things fun. This especially comes to things that I hate spending money on in the first place... Like gift wrap.
The practical side of me says: "who cares what it looks like -they're just going open it and throw it all away. What a waste!". The giver in me says: "you devoted the time to finding the right gift - a little effort on the presentation is to be expected!"

So, even though I love giving gifts and wrapping them up for my loved ones, I am also bugged by expensive gift wraps that all inevitably end up in the trash.

This thought process led to my latest addiction: crepe paper. You know, the kind you find in roles in the party isle for $0.99.

Last year, I bought 500 foot roles in red, orange, yellow, blue, and green - on sale - total for under $10. I Used the colorful ribbons for streamers at parties, birthday decorations, and ribbon wands... I still had so much left over I couldnt figure out what to do with itt... Until I was bagging a gift for a school friend's birthday and I had run out of tissue paper. Seeing that the crepe paper was practically strips of tissue, I cut long sections of it and stuffed it in the bag around the gift, allowing colorful loops to spill out of the top. The effect was really happy looking so I went with it.
With the success of that crepe paper use, i decided to move on to making actual bows out of the stuff. Again, the effect is pretty happy looking!! Its kinda fun That the light weight ribbons move with the air currents, and their semi-transparency lends a layered effect, so each color seems to pop out. . Even better: since these are kids gifts, an "easy tear" bow is just the trick to getting into that gift ASAP. Who needs tricky and expensive real ribbon?!


0 Comments

Watercolor Eggs

3/30/2013

0 Comments

 
Picture
This is hands-down the easiest way to dye Easter Eggs.  No dipping or fishing the eggs out of cups of dye.  Instead, in this method, you take the dye to the egg!

The end result is a fun little work of art.

Even better:  you can do several eggs at once, the kids will love it, and you'll love the easy clean up!  All in 30 minutes or less!


Picture
A berry colander on top of a large dinner plate worked great!
You'll Need:
        * 
Hardboiled Eggs
        *  Hot
Water
        * 
Food Coloring
        * 
White Vinegar
        
*  Jars or cups to keep the dyes in
        
*  Either medicine syringes or straws
        
*  Large Plate
       
 *  Colandar

Picture
The colander helps catch and divert any overspray and splatter!
Directions:
   
 * Add 1 Tablespoon of Vinegar to 1 cup of hot water - use a separate cup/jar for each color you plan to use.
  
  * Add in 20 drops of food color in the separate cups/jars and stir well
    * Place a few eggs in your colander
    * Place the colander on the plate (we also added a paper towel to help absorb the drips)
    * Use a straw or medicine syringe to transfer colors to the eggs:

Picture
You can use straws - simply place your fingertip over the end to hold the dye in the straw until you're ready to release it over the egg.

Picture
Or, you can use medicine syringes.  You can get these (usually for free) at your pharmacy if you ask at the prescription desk.  We liked these a lot!

Picture
As you transfer the color over the eggs, simply let it drip and fall where it wants.  I'm sure you can get more creative if you like, but for us, we just liked the cool watercolor-effect of the colors overlapping each other in an organic way.   When the upside of the eggs looked nice and covered, I rolled them over in the colander and dripped dye on the other sides as well.  The end result was really nice, and they made a lovely addition to the Easter table!   

0 Comments

Dragon Eggs

3/29/2013

0 Comments

 
Picture
You may have noticed in the Watercolor Eggs post that there are two eggs sitting on the plate below the colander.  There is a special story to these eggs, and I wanted to share it.

If you look closely enough, you may be able to see that these eggs are cracked. 

So we decided to try an experiment on them...

Picture
We took the two eggs that had cracked after being boiled, and we purposely cracked them a little more.  Just a few gentle squeezes did the trick.   We didn't want the shell to come off - we simply wanted to give it a few nice, 'spider-web' spots.
Then, as we dyed the other eggs, we placed the eggs in the catch area on the plate below the colander.  We were hoping it would get all sorts of colors this way.  The green and blue really turned out cool!

Picture
Once the shell comes off, a network of colorful veins echo the pattern of the cracking in the shell.
These would be excellent for a Halloween-themed Deviled Egg. 
If made in several different colors, they would look really neat in a dish!  


Just one problem....  convincing your 4-year-old to eat a Dragon Egg.... 

Picture
Max, excited about his Dragon Egg.
Picture
until he sees it out of the shell...
Picture
so Maverick ate it.
0 Comments

Blue Jar Joys

3/20/2013

0 Comments

 
Picture
I absolutely love old blue canning jars.  I look for the oldest ones I can find at flea markets and antique junk mills and buy them by dozens.  I hoard them.  Seriously, I may have a problem.
But what's not to love about old canning jars?  They are so interesting.  Anytime I find a truly unique one, I wonder about the yummy things that might have once been sealed in.   Jam, jellies, pickles, veggies... There's a history and a nostalgia with old jars that's easy to admire. 
Although I wouldn't use them for canning today, as the old glass may prove untrusty, they still have so many great uses!  I've orgainzed crafts with them, used them for vases, luminaries, penny catchers, snowglobes; most recently, I've used them for displaying pictures.  It's ridiculously simple, and I love how easy it is to switch out.  Simply take a jar, roll a picture into it, and ta-dah!  A fun and interesting way to seal up some smiles. 

Picture
A 1900's Port Jar +
Picture
A Favorite Picture of Mommy & Maverick
Picture
= Fun!!
0 Comments

Second Chance Crayons

3/8/2013

0 Comments

 
Picture
A quick, fun project with the kids!
Tonight, Max was contentedly coloring away, when his crayon suddenly broke in two.  Pitifully, he looked at me and, "Now it's no good, Mommy."  Oh, you know that look...  it's up there with the  "I just dropped my ice cream" face.   It's endearing and heart-melting, yet amusing all at once.    
    For whatever reason, I remembered how we used to melt down our old crayons into "Magic Crayons" when we were kids.  Mom would break out an old muffin pan, toss in the crayon pieces and after a few minutes at 300 degrees, we had circular crayons of every color.  
    So tonight, I told Max: "Buddy, that crayon is still good.  Let's give it a second chance - what do you say?"

Picture
Pre-soaking the crayons helps the labels peel off easily.
The Stuff:______________________________
- Broken Crayons
- Cakepop Tins / Muffin Tins / Corn Bread Tins
- 9 x 13 pan
- Heavy Bladed Knife (Butcher / Chef)
- Olive Oil Spray (We used Pam Organic Olive Oil)
- Oven at 300 degrees
_________________________________________

Picture
A 9 x 13 Cake Pan comes in super handy!
    * First, Max and I preheated the oven to 300 degrees.  
    * While it warmed up, we picked through all the crayons and took out the broken ones.  
    * We placed them in the 9 x 13 pan, and sprayed a little water on them.  This helped the labels peel off more easily.  
    * Then, we used the knife to chop up the crayons into small pieces.  We did this inside the 9 x 13 pan, as the sides of the pan helped keep the crayons from scattering everywhere as we chopped them up.  Less mess!  Note: Don't try to use a paring knife - use a heavy  bladed knife like a butcher or chef knife.  
    * Once we had some nice colorful piles, we took a cake pop tin and lightly sprayed it with olive oil.
    * We then placed a few pieces of crayon from each color pile into the cake pop slots.
    * Oven time!  We tossed them in, and turned on the oven light to watch the crayons melt together.
    * Once the crayons looked nice and liquid (about 10-15 minutes) we removed them from the oven.  
    * I poured an ice bath into the 9 x 13 pan and placed the cake pop tin into it.   The ice bath helps the crayons cool more quickly, and they release from the tin much easier.  
    * After about 15 minutes, simply turn over the pan, and ta-dah!   Magic Crayons!

Picture
Such fun, we made Magic Crayons in all different shapes!
   Max's broken crayons now had  second chance at fun.  We called them "Magic Crayons" since they are so many colors rolled up in one!    
These are great to toss in a bag or purse for that "emergency entertainment" we sometimes need at restaurants or doctors offices.  
Plus, they're sort of fun little gifts or stocking stuffers. 
And, not only are they cool looking, they were made by recycling and reusing something that might otherwise ended up in the trash.  Easy to make, easy to love!   

0 Comments

    D.I.Y.

    Do it yourself - it doesn't have to be perfect.  It just has to be yours.

    Archives

    August 2014
    December 2013
    May 2013
    March 2013

    Categories

    All
    30 Mins Or Less
    Art
    Kid Projects

    RSS Feed

Powered by Create your own unique website with customizable templates.